It is not uncommon to find oil on the threads of a spark plug. In most cases, this is due to excessive oil consumption. When an engine burns oil, some of it will inevitably end up on the spark plugs. This can cause all sorts of problems, including engine misfires, fouled plugs, and increased emissions.
In this article, we will explore the reasons why there is oil on threads of spark plug and how to fix it. Excessive oil consumption is the most common cause, but there are other potential causes as well. We will also provide some tips on preventing oil from getting on your plugs in the future.
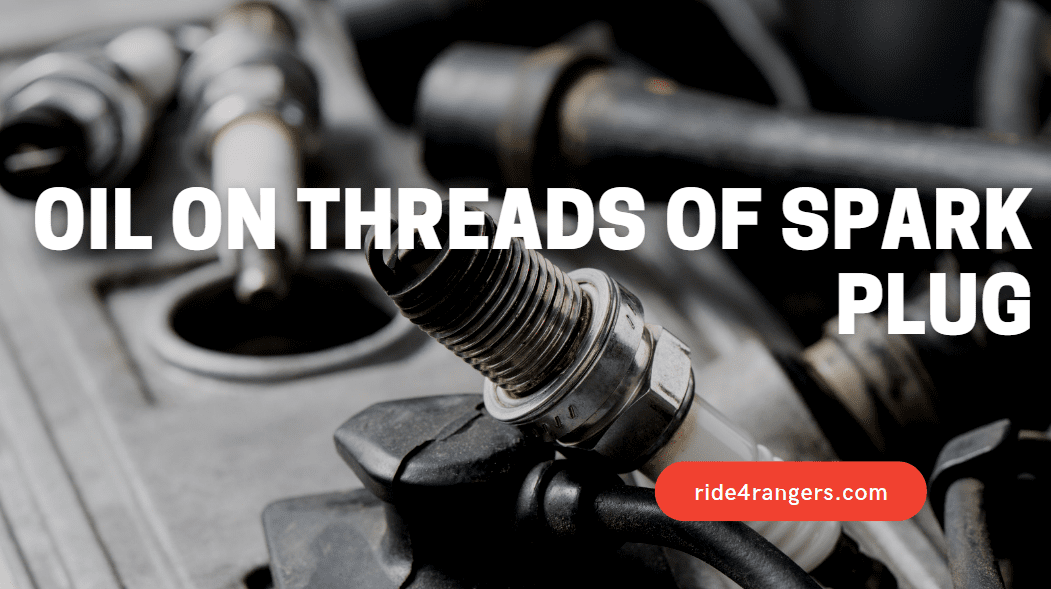
When you pull out your spark plugs only to find they’re covered in oil — that isn’t a good sign. Spark plugs aren’t supposed to have oil on them, so when you find oil on the plugs, it’s a pretty clear sign something else is wrong with your engine.
The presence of oil on the spark plug threads is an indication that one or more of several potential sources may lie beneath. Possible causes of this issue include excessive engine oil, broken valve cover gasket, faulty piston, worn-out valve guides, and a leaking head gasket.
To prevent oil from building up on your spark plugs, replace the valve cover gasket regularly and check for any cracked valves.
Fixing your threads on spark plug can be tricky. Understanding the right tools and paying attention to details are essential when you want to get it done right. In this article, we’ll go over the best techniques for fixing problems with your oil in spark plug thread and show you how to do it yourself.
Oil On Threads Of Spark Plug – Troubleshoot And Diagnosis
There’s a wide variety of factors that may lead to oil leaking into your spark plug threads.
1. Excessive Oil
Engines rely on spark plugs to ignite fuel in their cylinders, but they’re only as effective as the conditions they’re exposed to. When spark plugs are dirty, they can’t work at peak capacity — which will reduce your car’s power and overall performance.
When spark plugs are really dirty, they’re not able to jump the open space between their two electrodes.
Does your car seem to lose power and have trouble idling? The spark plug has probably become fouled with excess oil from the engine — a common issue for older vehicles.
Putting too much oil in your car engine will cause problems that you won’t want to mess around with. For example, when the spark plugs have trouble firing, it can increase gas consumption and reduce the power of your engine.
Solution
There are a few different ways you can remove the excess oil from your vehicle’s engine.
1. Via Drain Plug:
The best way to remove excess oil from your car’s engine is to use the drain plug. The drain plug is located at the bottom of the oil pan, and it is used to remove oil from the car’s engine.
To remove the oil from your car’s engine, start by removing the oil dipstick. Next, locate the drain plug at the bottom of the oil pan and remove it.
Place a drain pan under the oil pan to catch the oil as it drains out. Allow the oil to drain for a few minutes, and then replace the drain plug.
Once the drain plug is replaced, add the appropriate amount of oil to the car’s engine. Be sure to check the oil level regularly to ensure that the car’s engine has the proper amount of oil.
2. Using An Oil Extractor:
An oil extractor pump is a device that is used to remove excess oil from an engine. There are many different types and brands of oil extractor pumps on the market, but they all work in essentially the same way. The first step is to locate the oil drain plug on the engine.
This is usually located near the bottom of the engine, on the side that is opposite the oil filter. Once the oil drain plug is located, the next step is to place the oil extractor pump on the end of the oil drain plug. The oil extractor pump will have a tube that goes into the oil pan.
Once the tube is in place, the pump will need to be turned on.
The pump will then begin to extract the oil from the engine. Once the oil has been extracted, the next step is to remove the oil extractor pump and to replace the oil drain plug.
Be sure to dispose of the used oil in a responsible manner.
2. Valve Cover Gasket Leakage
You might have heard about valve cover gaskets, but don’t know much about them. While their names may conjure up images of James Bond-type spies and super-secret covert operations, they actually play a practical role in most cars.
The valve cover gasket sits in the engine between the cylinder head and the valve cover. It is comprised of a soft material that seals the passageways between these two components to prevent oil leaks or vacuum on the vehicle.
The valve cover gasket seals the top of the engine and keeps oil from leaking out. Over time, the gasket can become dry and cracked, allowing oil to seep through and onto the spark plug threads. In some cases, the valve cover gasket may need to be replaced entirely.
The valve cover gaskets on an engine include the oil cooler and lines, as well as the cylinder head itself. Valve cover gaskets are crucial components on most engines and must be kept in good condition to ensure a smooth and efficient running process. While older cars might be more likely to have a problem with their valve cover gasket, newer vehicles will also eventually need it replaced, which is necessary to keep your car running correctly and at its maximum performance capacity.
Solution
The gasket that seals your engine’s crankcase and cylinder walls against the engine block is susceptible to aging. And like all gaskets, it can leak at any moment. Tick-tocks will be vibrating its joints with every rotation of the motor will add up over time and weaken the seal.
Because replacing the valve cover gasket is such an easy fix, it’s one that you may choose to do yourself. Doing so isn’t quite as affordable as other repairs that require less specific parts, but the expense should be relatively cheap. Of course, depending on where you take your car in for repairs, labor costs might affect this price — especially since you would have to pay more for a shop to handle this project.
- Jack up your car and place it on jack stands. Make sure the engine is cool before beginning this repair.
- Remove the negative battery cable to prevent electrical shorts.
- Unscrew the oil fill cap and set it aside.
- Unscrew and remove the valve cover using a ratchet and socket. The bolts holding the valve cover in place are usually located at the edge of the cover. In some cases, you may need to remove other components in order to access the valve cover bolts. For example, you may need to remove the air intake hose or throttle body in order to access the valve cover bolts on some engines.
- Inspect the old gasket for any debris or damage. Clean off any debris from the valve cover or engine block surface that will make contact with the new gasket. Be sure to clean all of the old gasket material from both surfaces before installing the new gasket.
- Place the new gasket onto the valve cover and align it with the bolt holes. Some gaskets come with adhesive backing which will help hold it in place while you install the valve cover. If your gasket does not have an adhesive backing, you can use a small amount of sealant around the edges of the gasket to hold it in place.
- Screw the valve cover back in place using a ratchet and socket. Torque the bolts to the manufacturer’s specifications.
- Reinstall any components that were removed in order to access the valve cover.
- Reconnect the negative battery cable.
Start the engine and check for leaks.
3. Leaky O-Ring Seal
If you own a car, you know that oil is important for keeping everything running smoothly. But did you know that oil can also cause some problems if it isn’t used correctly? One of the most common problems is oil on spark plug threads due to a leaky O-ring seal.
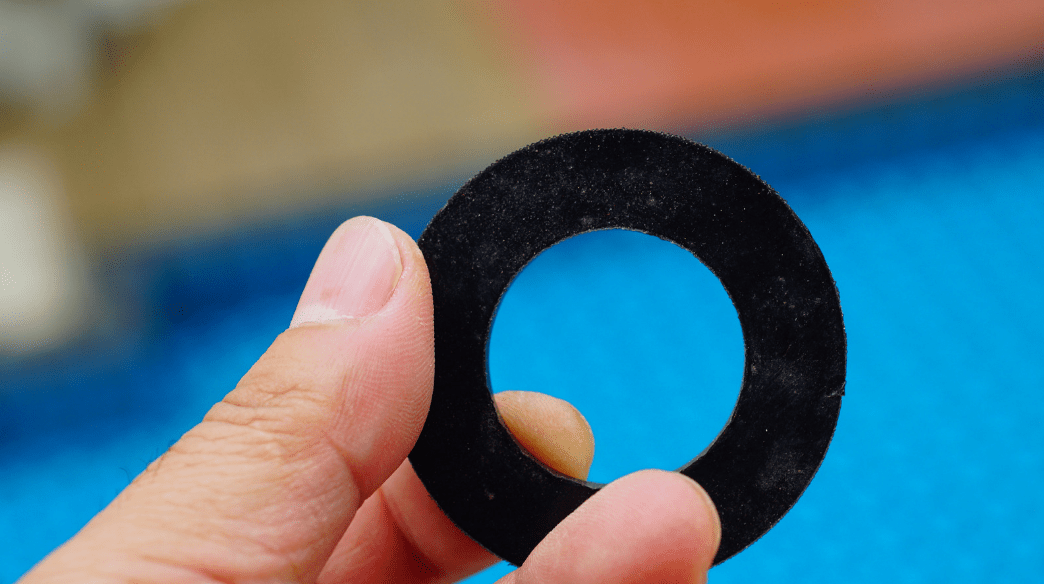
O-rings are used to seal the connection between the spark plug and the engine. Over time, these O-rings can become dry and cracked, which can cause oil to leak out. When this happens, the oil can get onto the threads of the spark plug and cause the connection to become loose. This can lead to a misfire or even engine damage.
The best way to prevent this problem is to check your O-rings regularly and replace them if they are worn or damaged. You should also make sure that you are using the correct type of oil for your vehicle. If you’re not sure, consult your owner’s manual or ask a mechanic.
Leaks are never fun, whether they’re in your car or in your home. But when a leaky O-ring seal is causing problems in your vehicle, there’s no need to call a tow truck or a mechanic. With a little know-how, you can replace that O-ring seal quickly and easily, and get back on the road in no time.
First, you’ll need to gather a few tools and supplies. You’ll need a new O-ring seal, a O-ring pick, a small flathead screwdriver, and a can of O-ring lubricant. You can find all of these items at your local auto parts store.
Once you have your supplies, start by removing the old O-ring seal. Use the O-ring pick to carefully pry it out of its groove. If the old seal is stuck, you can use the flathead screwdriver to gently pry it loose.
Next, clean out the groove with a rag or a toothbrush. Make sure to remove any dirt, debris, or old sealant that might be stuck in there.
Now it’s time to install the new O-ring seal. First, apply a generous amount of O-ring lubricant to the seal. This will help it to slide into place more easily.
Next, use the O-ring pick to carefully place the seal into the groove. Make sure that it’s seated all the way in.
Finally, apply a small amount of O-ring sealant to the outside of the seal. This will help to keep it in place and prevent leaks.
And that’s it! You’ve successfully replaced your O-ring seal. Now you can put your car back together and hit the road.
4. Broken Head Gasket
If your car has a broken head gasket, it is likely that oil is leaking into the combustion chamber. This can cause the oil to build up on the threads of the spark plug, which can eventually lead to engine damage.
As one of the most important seals in your car, the head gasket is crucial to every aspect of your engine’s performance. It keeps oil and coolant from leaking out and keeps the combustion chamber airtight. Keeping it in good condition means that there’ll be no leakage and more efficiency for everything else in your engine.
The modern head gasket is made from a combination of steel and elastomer, which is similar to rubber. Although they are less likely to fail than those used before, modern head gaskets are still susceptible to failure due to overheating; when an engine experiences an unexpected shutdown it’s worth checking the head gasket for signs of cracks or leaks.
Solution
While removing a head gasket is never easy, two of the biggest challenges are getting at it (since you’ll need to loosen and remove many parts) and doing so correctly without damaging other components.
The cylinder head gasket is a thick, complex component of the engine that takes quite a lot of work to install properly. The size and shape of the gasket make it difficult to install — you need to remove the entire block of cylinders, fit the gaskets into place, then align them all together.
While you could pay someone to fix your head gasket, doing so would increase the cost of the repair service by an insane amount. This is due in part to the difficulty and time involved in replacing a head gasket. In addition, a replacement gasket unit can cost nearly as much as a new vehicle depending upon how old your car is.
5. Broken Piston
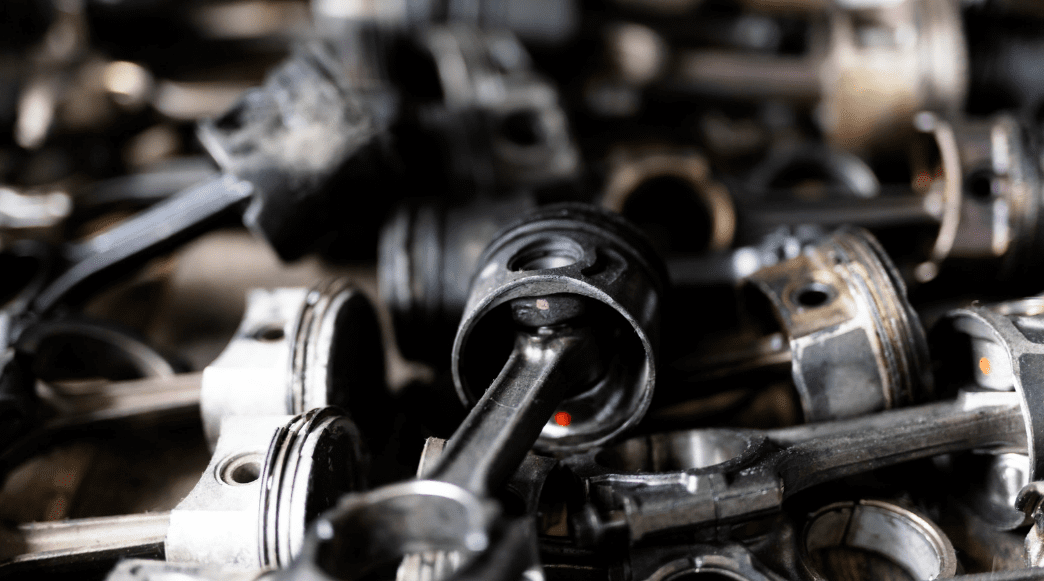
There are many reasons why oil may end up on the threads of your spark plug, but one of the most common is a broken piston. When a piston breaks, it can cause oil to leak into the combustion chamber and onto the spark plug. This can lead to all sorts of engine problems, so it’s important to have a mechanic check it out as soon as possible.
Pistons act as a translator between the engine’s combustion process, moving the crankshaft by pushing and rotating it. Pushing down on the piston creates pressure that leads to a force that is then sent to the crankshaft. This allows for rotation of the crankshaft and ultimately puts your car into motion.
A piston gets exposed to heat as it’s right in the combustion chamber, so there is always a chance that it can get overheated. Once this happens, you should check your motor for cracked pistons. This will happen when oil ends up making its way past the pistons and into the engine, where it then coats over the spark plugs.
A broken piston can be a big problem for a car or truck engine. The piston is a critical part of the engine, and if it breaks, the engine will not be able to run. Replacing a piston is a difficult task, and it is one that should be done by a professional. Before you remove the piston head and re-attach the connecting rod, you’ll need special tools just for this repair. These include an engine block puller and a wrench with a short reach and long reach. Here are the steps that you need to take in order to replace a broken piston in your car or truck:
- Remove the old piston from the engine. This can be done by taking out the connecting rod that is attached to the piston. Once the connecting rod is removed, the piston can be pulled out of the engine.
- Clean the area around the piston hole. This is important so that the new piston will be able to seal properly.
- Install the new piston into the engine. Make sure that the piston is properly seated in the engine before you install the connecting rod.
- Tighten the connecting rod. This will secure the new piston in place.
- Start the engine and check for leaks. If there are any leaks, they will need to be fixed before the engine will run properly.
6. Worn-Out Valve Guides
One of the most essential components in an automobile’s engine system is the valve. No car can operate without it. Now, you might have been wondering what exactly a valve does.
Two functions of a valve guide include protecting the expensive valve stems from wear and ensuring that they’re properly aligned with their seats, making sure that the valves open and close properly.
The valve guides will wear out, causing erosion that can create a vacuum that pulls oil into the spark plug wells.
Solution
Replacing your valve guides can save money in the long run, but it requires partial disassembly of your engine. What’s more, engine rebuilds are not for the faint of heart. For most people, a valve guide replacement is best left to a shop.
Disassembling your engine to access the valve guides can be a task. The valve guides themselves are located deep inside the cylinder head, which means that you may have to take apart lots of different parts before accessing them — and you’ll need specialized tools to do it safely.
When valve guides are ready for replacement, make sure you use the right tools and follow safety procedures when replacing them. And don’t forget to put your engine back together in the right way!
7. Defective Piston Compression Rings
Piston compression rings are essential for the piston to operate. Piston compression rings have multiple jobs, like sealing off gases and oil from the combustion chamber and preventing combustion gases from getting out of the combustion chamber prematurely. These components work with the cylinder sleeve to create a powerful seal.
But, on the other hand, when piston rings start deteriorating, then you need to replace them immediately.
Solution
Piston rings serve as the seal in cylinder walls, and they wear out over time. Replacing them is not hard to do — as piston replacement is.
You’ll need to remove your engine casings, remove the pistons from the engine block and drive train, remove worn rings with a pair of pliers or a piston ring expander, install new rings, reassemble everything back together and put everything back in the casing.
Check out tips on selling catalytic converter
Final Thoughts
There are a few reasons why there might be oil on the threads of your spark plug. The most likely explanation is that your engine is leaking oil, which is then deposited on the spark plug. This can happen for a number of reasons, such as worn seals or gaskets, damaged piston rings, or even just an overfilled oil reservoir.
Whatever the cause, it’s important to get it fixed as soon as possible to avoid further damage to your engine. If you’re not sure what’s causing the leak, take your car to a mechanic and have them take a look.
Tim Hayden is a seasoned car mechanic and expert with a wealth of experience in the automotive industry.
With a deep passion for cars and a knack for solving complex mechanical issues, Tim is dedicated to providing valuable insights and practical tips to car owners.
Trust his expertise to keep your vehicle running smoothly.